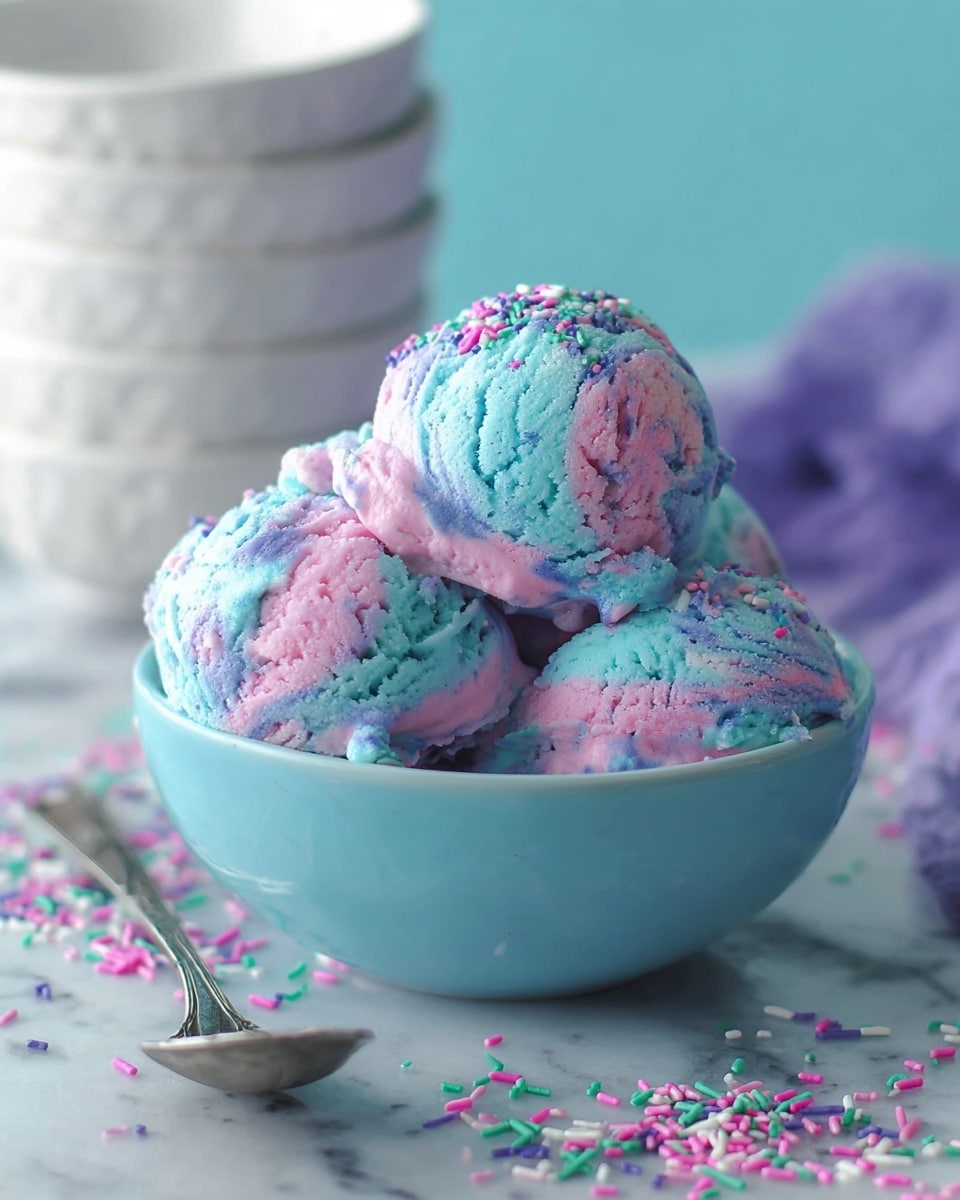
No-Churn Cotton Candy Ice Cream Recipe
Have you ever wished you could capture the magic of carnival cotton candy right at home, any time you want? This No-Churn Cotton Candy Ice Cream Recipe does exactly that – it whips up that sweet, nostalgic cotton candy flavor into a creamy, dreamy ice cream without needing an ice cream machine. It’s one of those recipes that feels like a little fun-packed celebration you can scoop straight from your freezer.
What makes this recipe really special, besides its dreamy pink-and-blue swirls if you want to get fancy, is how incredibly simple it is. All you need is a handful of ingredients you might already have – and a bit of cotton candy flavoring, which you can easily order online or find in specialty stores. Whether you’re hosting a kids’ party or just want to enjoy some whimsy on a weeknight, this no-churn method makes it so easy to whip up a batch and have fun with it.
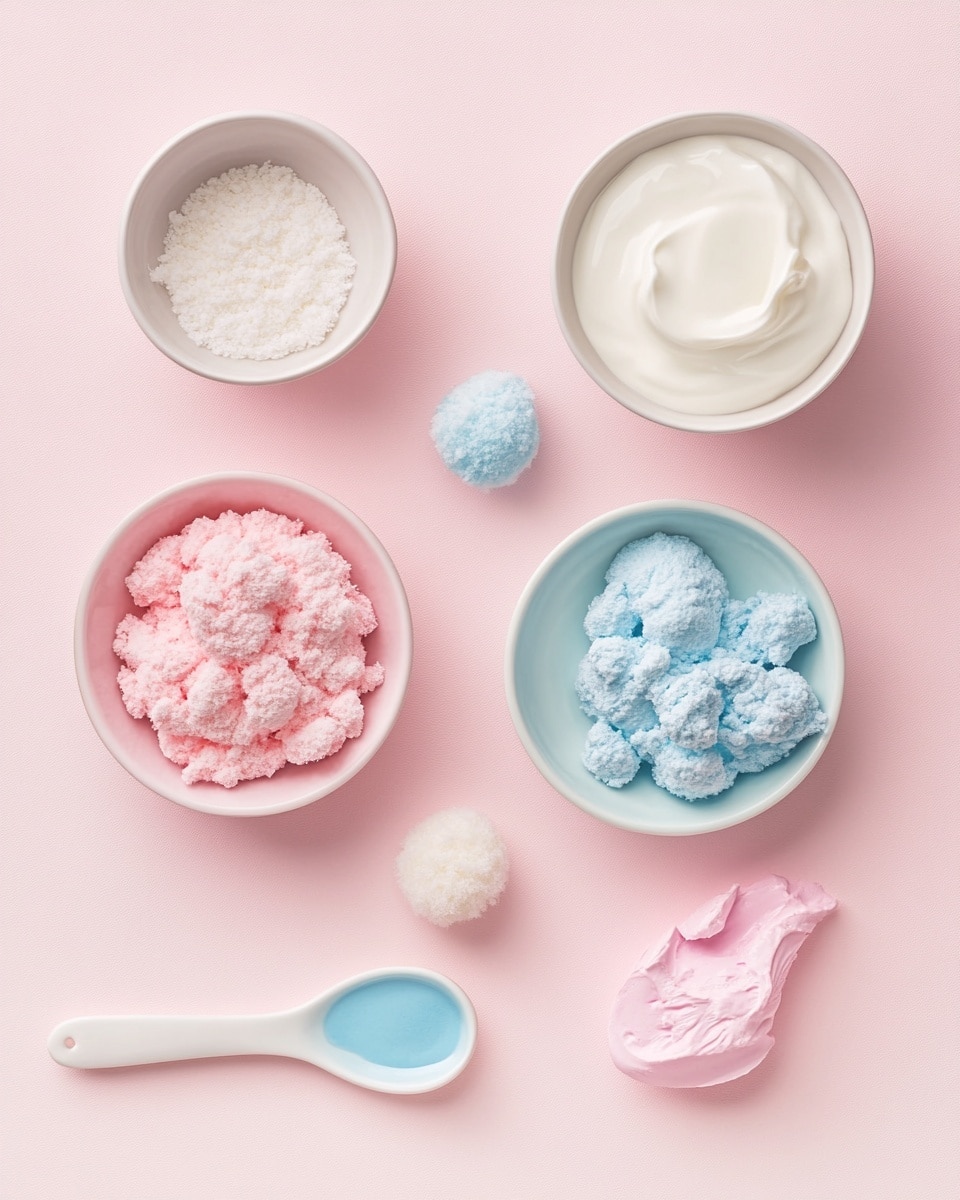
Ingredients You’ll Need
The ingredients here come together beautifully to create that fluffy, melt-in-your-mouth texture with that unmistakable cotton candy flavor. When you pick up your items, aim for really cold heavy cream to whip up perfectly, and unflavored sweetened condensed milk makes sure the sweetness shines without overpowering the flavor.
- Heavy whipping cream: Use it very cold so it whips up thick and airy – this is the creaminess base of your ice cream.
- Sweetened condensed milk: It adds sweetness and helps keep your ice cream smooth, no ice crystals here.
- Cotton candy flavoring: Essential for that carnival feel; pure cotton candy extract works best for authenticity.
- Food coloring (pink and blue, optional): Because who says ice cream can’t be as colorful and fun as the real thing? But skip it if you prefer a simpler look.
Variations
I love playing around with this No-Churn Cotton Candy Ice Cream Recipe to suit different occasions and moods. Sometimes I add sprinkles or swirl in a little fruity syrup, but you can absolutely personalize it your way – the base really gives you options!
- Swirled fruit syrup: Adding raspberry or blueberry syrup creates a tasty contrast and some pretty vibrant streaks; it’s so pretty and adds a slight tartness.
- Vegan alternative: I’ve used canned coconut cream instead of heavy cream and a vegan condensed milk substitute – it’s not quite the same texture but still fun for a plant-based twist.
- Sprinkle mix-ins: Fold in mini marshmallows, edible glitter, or rainbow sprinkles for an extra pop of carnival fun.
- Extra flavors: A drop of vanilla or a hint of almond extract can bring a new dimension if you like subtle twists inside your cotton candy base.
How to Make No-Churn Cotton Candy Ice Cream Recipe
Step 1: Whip the Cream to Soft Peaks
Start by pouring your very cold heavy whipping cream into a large mixing bowl. Using an electric mixer, beat on medium-high speed until soft peaks form. This means when you pull the beaters out, the cream should hold gentle peaks but still be soft enough to blend easily. If you overwhip, it can become grainy or buttery — so watch carefully!
Step 2: Fold in Sweetened Condensed Milk and Cotton Candy Flavoring
Gently fold in your chilled sweetened condensed milk along with the cotton candy flavoring. Folding (not stirring vigorously) helps keep the air you whipped into the cream without deflating it. This step is key for that luscious texture, so be gentle but thorough. If you’d like to add food coloring, divide the mixture and add colors now for those pretty pastel swirls.
Step 3: Add Color and Swirl
If you’re using pink and blue food coloring, add a few drops to separate portions of the mixture. Then spoon the colored and uncolored ice cream base alternately into your container and use a skewer or butter knife to create swirls. Resist the temptation to overmix — the fun color pattern adds to the carnival vibe!
Step 4: Freeze Until Firm
Cover your container tightly and pop it into the freezer. Give it at least 6 hours to harden, or overnight is even better. This recipe freezes beautifully because the sweetened condensed milk keeps it smooth, so you won’t have to worry about rock-hard ice that’s tough to scoop.
How to Serve No-Churn Cotton Candy Ice Cream Recipe
Garnishes
Whenever I serve this ice cream, I like to top it with colorful edible glitter or rainbow sprinkles for that extra carnival sparkle. Sometimes fresh berries or a drizzle of berry syrup add a nice tart contrast to the sweet cotton candy flavor. Don’t be shy – the more playful the garnish, the merrier!
Side Dishes
This ice cream pairs beautifully with light, fruity desserts like lemon bars or angel food cake. I also like serving it alongside simple sugar cookies for dipping, turning snack time into a mini carnival experience at home.
Creative Ways to Present
For birthday parties or special treats, I’ve served this No-Churn Cotton Candy Ice Cream Recipe in edible waffle cones painted with food-safe shimmer dust. Another fun idea is layering scoops in clear cups with matching cotton candy on top – kids (and adults!) love the unveiling of colors and textures.
Make Ahead and Storage
Storing Leftovers
Leftovers store wonderfully in an airtight container in the freezer. I like to press a piece of parchment paper over the surface before sealing the lid to prevent ice crystals and freezer burn. This way, your ice cream stays fresh and scoopable for weeks.
Freezing
Because this is a no-churn recipe, freezing feels effortless. I’ve never had issues with texture once it’s properly whipped and folded in. Just be sure your container isn’t too shallow — a deeper container helps the ice cream freeze evenly.
Reheating
You don’t really “reheat” ice cream, but if it gets too hard, I recommend letting it sit out for 5 to 10 minutes before scooping. This softens it just enough for easy serving without losing that creamy texture.
FAQs
-
Can I make this No-Churn Cotton Candy Ice Cream Recipe without heavy cream?
Heavy cream is essential in this recipe to achieve the fluffy, creamy texture that mimics traditional ice cream. However, you could experiment with coconut cream for a dairy-free variation, though the texture might be slightly different.
-
Where can I find cotton candy flavoring?
Cotton candy flavoring is usually available online through specialty flavoring suppliers or on big e-commerce sites. Some baking supply stores may also carry it, especially around fair season.
-
How long will this ice cream keep in the freezer?
Stored properly in an airtight container, your No-Churn Cotton Candy Ice Cream will stay fresh and delicious for up to 2 weeks in the freezer.
-
Can I add mix-ins like candies or sprinkles?
Absolutely! Adding colorful sprinkles, mini marshmallows, or even candy pieces can elevate your ice cream and make it even more fun and festive.
-
Do I need any special equipment for this recipe?
Nope! Just a mixer to whip the cream and a freezer-safe container for setting the ice cream. That’s what makes this No-Churn Cotton Candy Ice Cream Recipe so accessible and fun to make at home.
Final Thoughts
This No-Churn Cotton Candy Ice Cream Recipe holds a special place in my kitchen because it feels like a little joy brought to life with every scoop. It’s easy, playful, and reminds me of those carefree summer days at the fair. I hope when you try this recipe, it brings that same smile and magic to your home—because, honestly, life’s sweeter with a scoop of cotton candy ice cream in hand.
Print
No-Churn Cotton Candy Ice Cream Recipe
- Prep Time: 10 minutes
- Cook Time: 0 minutes
- Total Time: 6 hours 10 minutes
- Yield: 8 servings 1x
- Category: Dessert
- Method: No-Cook
- Cuisine: American
- Diet: Vegetarian
Description
This No-Churn Cotton Candy Ice Cream is a fun and whimsical frozen treat featuring fluffy, creamy texture with the nostalgic sweet taste of cotton candy. It requires no ice cream maker, combining heavy whipping cream, sweetened condensed milk, and cotton candy flavoring, with optional food coloring to create a vibrant pink and blue swirl.
Ingredients
Ice Cream Base
- 2 cups very cold heavy whipping cream
- 1 14-ounce can sweetened condensed milk (cold)
- 2 teaspoons cotton candy flavoring
Optional
- Food coloring: pink and blue, as desired
Instructions
- Whip the Cream: In a large mixing bowl, whip the very cold heavy whipping cream using a hand or stand mixer on medium-high speed until stiff peaks form. This process usually takes about 3-5 minutes and ensures the cream is light and fluffy.
- Combine Condensed Milk and Flavor: In a separate bowl, mix together the cold sweetened condensed milk and cotton candy flavoring until evenly blended. If using food coloring, add drops of pink and blue to the condensed milk mixture to create desired colors.
- Fold Mixtures Together: Gently fold about a third of the whipped cream into the condensed milk mixture to lighten it. Then carefully fold in the remaining whipped cream until fully combined, preserving as much airiness as possible. If you used food coloring, you can swirl the colors gently to get a marbled effect.
- Freeze: Transfer the mixture into a loaf pan or airtight container. Smooth the top with a spatula, cover tightly with plastic wrap or a lid, and freeze for at least 6 hours or overnight until firm.
- Serve: Once fully frozen, scoop the cotton candy ice cream into bowls or cones and enjoy your creamy, no-churn treat!
Notes
- Be sure the heavy cream and condensed milk are very cold for best whipping results.
- Do not overmix when folding to keep the ice cream airy and light.
- Use cotton candy flavoring specifically designed for desserts to get the best taste.
- If desired, swirl the colored mixtures gently without fully blending to create a visually appealing marbled look.
- Store leftover ice cream in an airtight container for up to one week.
Keywords: cotton candy ice cream, no churn ice cream, homemade ice cream, easy dessert, cotton candy flavor